How to Edit Instagram Reels: A Complete Guide to Reaching Your Audience with Video
Every day, Instagram Reels become an even more important part of the Instagram platform, which means there’s never been a better time to get on board with video content.
As Instagram continues to prioritize video media, Reels offer a unique chance to grow your account, reaching new users from around the world. That’s not to mention all the amazing engagement benefits Reels can provide. With Instagram Reels, you can communicate with your audience in new and creative ways that help your brand shine.
For even the most experienced Instagrammers, making the transition to Reels can feel overwhelming, especially if you’re unfamiliar with Instagram’s video editing tools.
Fortunately, you’re never alone! Here at Plann, we make it our job to stay up to date with the latest social news so that we can keep you in the loop.
Wondering how to edit Reels on Instagram and achieve your social media goals? Here’s everything you need to know.
What are Instagram Reels, and Why Do They Matter?
Reels are Instagram’s answer to TikTok, and they’re fast becoming a staple for success on the platform. Increasingly, the Instagram algorithm is promoting video content over image posts. This means that Reels could soon be the only practical way to grow your Instagram presence.
By allowing users to share short-form video content up to 90 seconds long, Reels allow you to showcase your expertise, build trust with your followers and convert them into paying customers using the power of video content. By including Reels as part of your social strategy, you can share more of your brand on Instagram.
As more users become avid Reels watchers, you can expect to benefit from additional reach opportunities. While image posts are mostly shared among your existing followers, Reels are an easy way to find new users outside of your existing network (thanks to the Reels discovery tab and Instagram’s Explore page).
How to Edit Instagram Reels
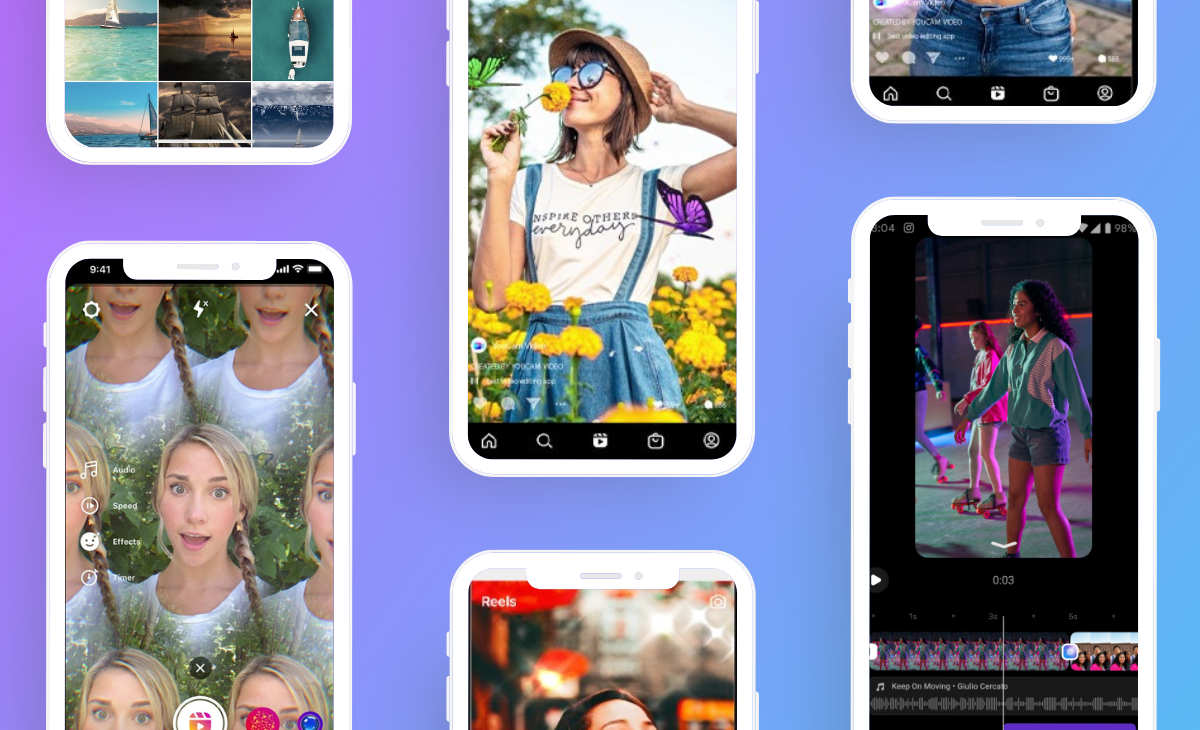
If you’re new to Instagram Reels, you might be feeling a little lost when it comes to video editing. The Instagram app offers great in-built editing tools that allow you to create and share high-quality content. Here’s your step-by-step guide to the tools and skills you’ll need!
Filming Reels Content
- Navigate to your Instagram home page, and tap the + icon at the top of your screen.
- Select "Reel" at the bottom of the screen.
- Select video length, speed, layout, timer, and front/back camera using the icons on the left.
- Tap the grey record button to begin recording. Pause to stop.
- Use the photo icon to upload existing content from your camera roll.
Using Effects
- Select filters from the menu before recording.
- Tap the stars icon to access extra filters or greenscreen backgrounds.
- Post-recording, use the stars icon and sticker menu to apply effects and interactive elements.
Creating Transitions
- After recording a clip, use the align tool to match shots.
- Edit and reorder clips from the edit screen.
- Apply transitions between clips using the + icon.
Including Audio
- Select music icon before filming to browse songs or use saved audio.
- Import custom audio or use reactive sounds.
- Post-recording, add music, effects, or voiceover from the edit screen.
Adding Text
- On the edit screen, tap the text icon and type your message.
- Customize fonts, colors, and background styles.
- Use the captions sticker to auto-generate subtitles.
Remixing Content
- Find a Reel, tap the ellipsis, and select "Remix this Reel."
- Choose your layout and record your side of the remix.
- Edit and publish as usual.
Uploading a Cover & Caption
- Write an engaging caption and tag relevant accounts.
- Tap "Edit cover" to choose a thumbnail or upload one from your camera roll.
- Use advanced settings to control captions, shares, and Facebook integration.
- Hit "Share" to publish your Reel!